Showing posts with label translucent canes. Show all posts

Sunday, August 27, 2017

Sunday "clay with me" and word about tutorials and other stuff

First of all apologies if I haven't been very active this week on the blog. As I said, it was a week full of doctors appointments. That kind of messes up my whole day.

Friday was not better in any way, it was worse. We has tropical-style rains and flooding and that made it so that it took 2 hours for me to get back home from the dr. appointment. So left the house at 9 am and wasn't back til 2 pm. You can imagine how worn out I was.

They drew a bunch of blood (and that made me be even more worn out) and part of the results came back Friday. Good part is that I am not Vit B and Vit D deficient anymore. Bad part is that not only the abnormal values I had in the blood test in June were more abnormal, but there were a few more abnormal results. They called me late in the afternoon Friday that I will have to go in for more tests and they're contacting my oncologist. Let's hope it's just another messed up metabolism from chemo type of thing.

Tutorial wise, I hope you liked the lace and the bubbles canes.


Just as a FYI, here's a few photos of beads made using these canes:


I did not manipulate the photos in any way, they're just raw, taken early in the morning in artificial light.
I made some beads out of an IKAT mix of violet, white and jade green (with the white in the middle) that I covered with slices of the canes (two beads are with the lace and two with the bubbles) then I've placed some slices of very reduced flower canes on top. This is the result. Now you can see what pretty results these canes can bring you


I'll post one more translucent cane and then we can go ahead and do the project.

And don't forget today's live broadcast! we'll do a little bit of color and shape play, as I thought you might get some ideas.

As for the project after the translucent canes one, I think I'll do a patchwork piece. I'll post all the small canes tutorials that will go into the project here on the blog then do the tutorial video on youtube on how to put them together and make the piece.

See y'all later. Now I go do the malachite tutorial for my sponsors.

Friday, August 18, 2017

Scrap translucent clay Stroppel cane pictorial tutorial


I am putting here a pictorial tutorial for a translucent cane made out of scraps in a Stroppel cane technique.

We will need this cane for today's tutorial. I just thought of not making the video way too long, and the cane is not hard to make at all, so here it is.

Take whatever bits and pieces of various translucent you have, tinted or not. You can also mix bits and pieces of other colors with a bit of translucent. For this specific cane, try to stay in the yellow-orange-red range. Make sure you also have some bits of un-tinted translucent.

Before starting, place some paper towels on your work area and cover with waxed paper (or cling wrap if you don't have wax paper)

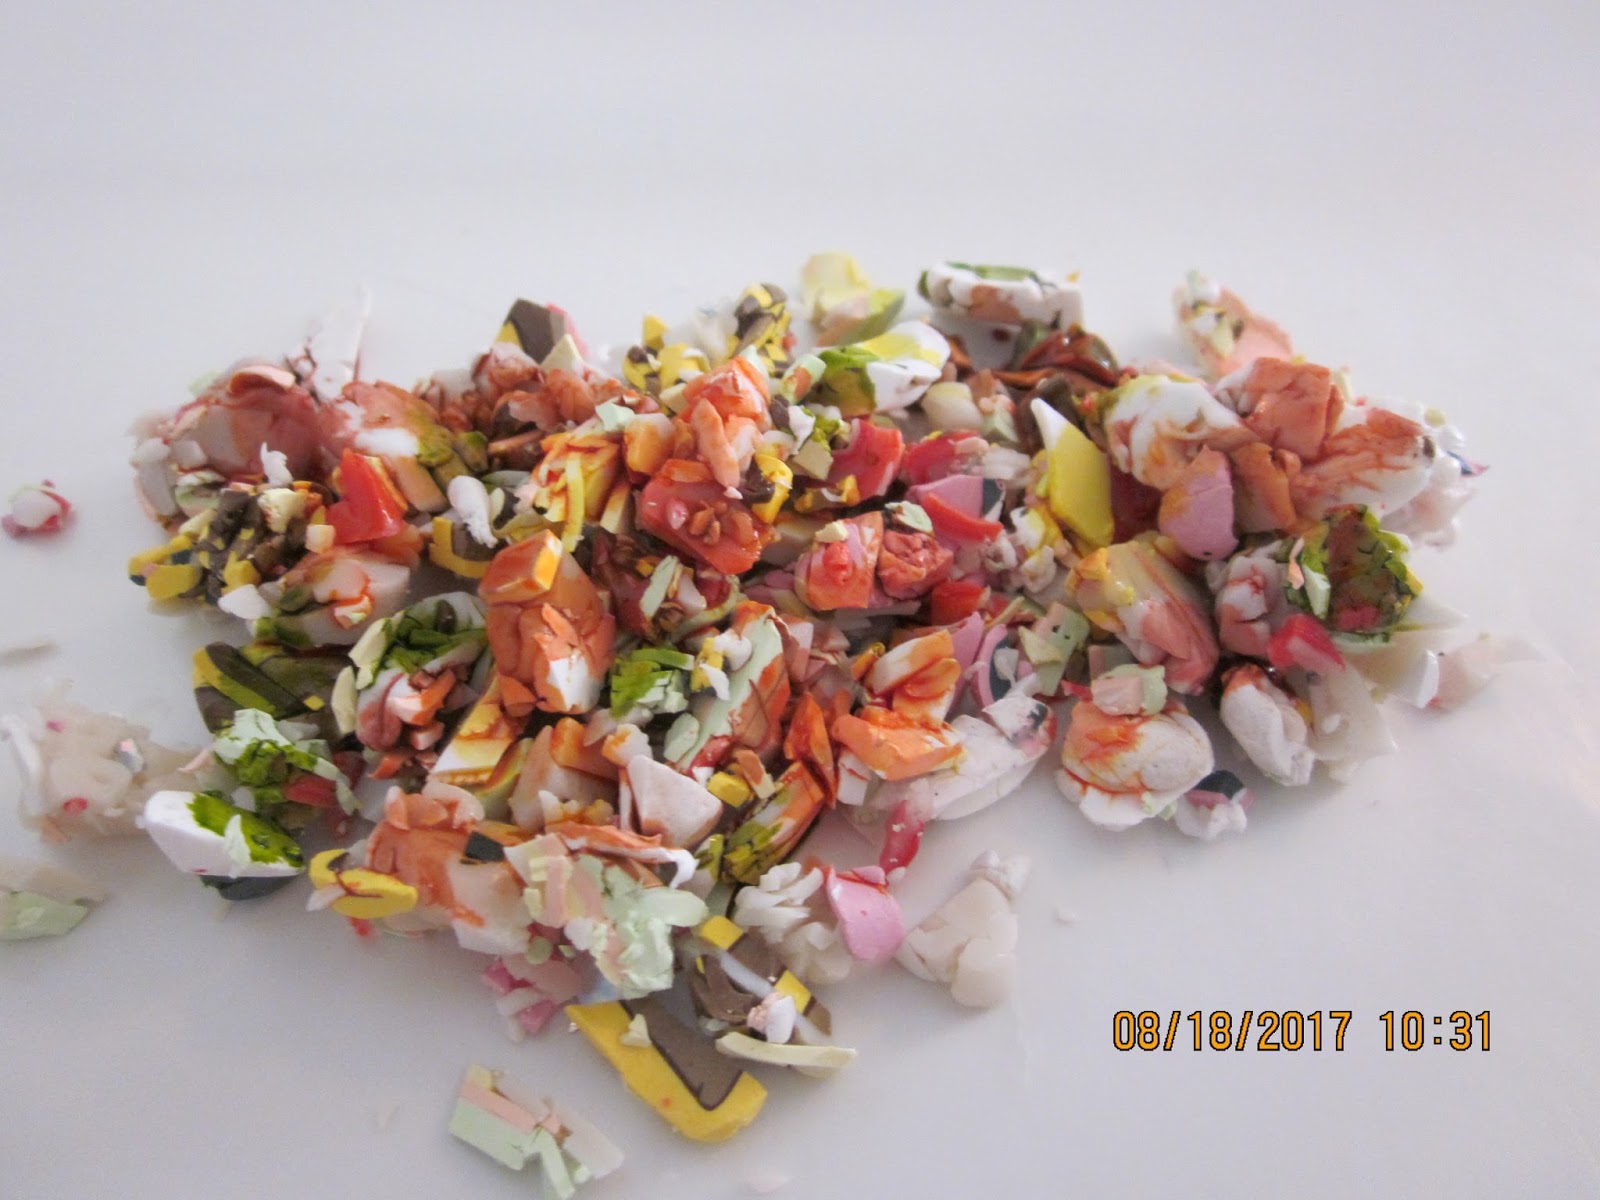
Chop your pieces fairly small


Once you chopped them, drop some alcohol inks over them. I used yellow, orange, maroon and a few drops of citrus green


Let them dry completely.
Once they are dry, chop them even finer and mix them well.


Take an equal amount of gold and translucent and mix them


Then run the mix through the pasta machine on thinnest setting, making an approximately rectangular sheet.


Place your chopped up pieces on the sheet, trying to cover the surface equally.


Uh! That looks like some kind of Mexican dish. I'm getting hungry!
Haha. Now cover with wax paper, and first press down a little with your fingers, then use the roller to spread the chopped pieces evenly on the gold/translucent sheet


Once you're done it should look like this:


Start coiling from one end, making sure that you don't trap air


Once you've done your spiral, squeeze it a little from the middle up, as in any other round log cane, to move out any air pockets


Then using your roller, make it into a square cane, reducing it a little in the process.


And this is how it looks. Of course, once it's baked, it will look gorgeous, when all that translucent becomes, well, translucent!


Now let it rest until we will need it, in a couple hours, for the tutorial that is coming soon on youtube.


Thursday, August 3, 2017

Translucent canes part 1 - chrisanthemum cane


This is just a short post to tell you about today's tutorial. It's the first one of my series for August on translucent canes. I touched the subject briefly in a couple of tutorials in the past couple of weeks, and used some translucent canes, and promised to talk more about this subject, so here it is.